Hatching Quail Eggs
My children are pros at hatching eggs by now. We are in our fifth year of home educating and have hatching chicken eggs every spring. However, this school year, I wanted to do something a bit differently. I wanted to educate my children on the process of hatching game birds, so we decided to hatch quail eggs.
We are using the Apologia's Exploring Creation with Zoology 1 book this year in Science and lessons 2-5 are all about birds. Birds are creatures that were created on day 5 and we are studying most of them through fun activities. One of the amazing activities is hatching quails.
Quails belong to the Phasianidae family of short-tailed game birds. There are about 95 species of quail birds. The Phasianidae family is divided into two sub families: Phasianinae and Perdicinae. These birds build their nests in tall grasses in plains and farmlands. They are heard more often than seen due to their really good camouflage. These birds are often hunted as game birds and today are very commonly raised for eggs and meat.
But we are just hatching the quails for fun and will return the little quails to the local farmer who was so wonderful to donate the eggs for our Science class.
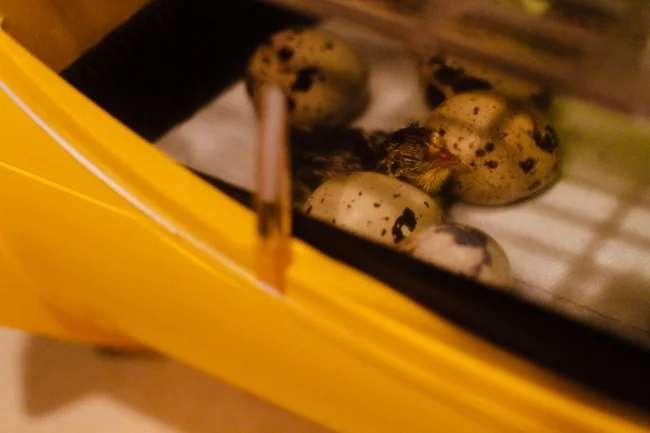
I hatched our quail eggs in an air incubator that has a fan for for circulating air and heat. I also have an automatic egg turner on my incubator. I just purchased this egg turner this year and what a time saver! I really didn't want to handle the tiny quail eggs and possibly damage them in any way. So an egg turner is a wonderful investment.
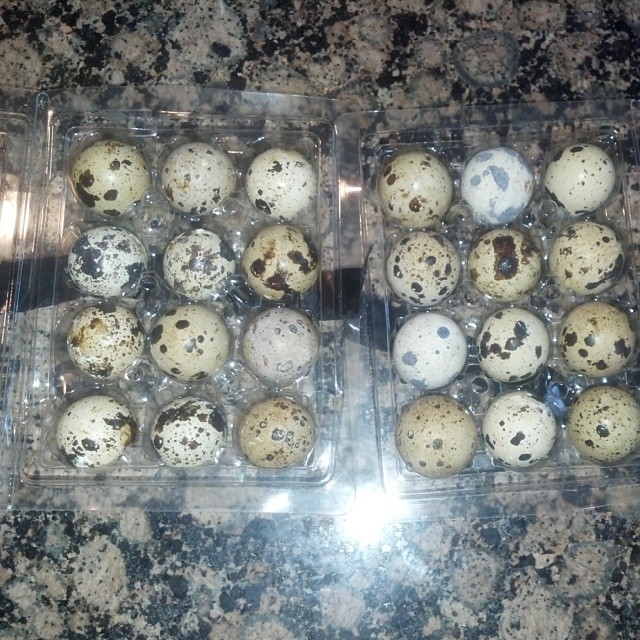
I received 24 fertile quail eggs from a wonderful local man. who donated them for our school. But you can search for local farmers in your own area. A fertile quail egg will have a strong shell. Place the eggs in the incubator very gently and carefully. You need to adjust the light, heat, and humidity inside the incubator according to the instructions on the machine. I did this one day prior to placing the eggs in the incubator to ensure all was well.
The humidity level should be about 55% to 60% during incubation and 75% to 85% after hatching. The temperature should be close to 100ºF throughout the entire incubation period. Place the egg with the small, pointed end facing downwards. If you do not have an auto turner, turn the eggs yourself at least three times a day, although I really recommend an egg turner!
The humidity levels needs to be carefully monitored. Many quail eggs fail to hatch if the humidity is too high. The humidity levels should be about 60% and the water trough needs to be filled(or checked) every day. Usually, after about 17 to 19 days, depending upon the species, the eggs will hatch.
The automatic egg turner needs to be turned off at day 14 - three days before the predicted hatch date. Once the eggs hatched, my children were so excited to remove the new hatchlings at once. It is really hard not to keep peeking inside the incubator. But it is best to let them fluff out and not remove them. All the other eggs still need time to crack open and if you keep opening and closing the incubator, the humidity levels are decreased and possibly not enabling the other eggs to continue to hatch. After about six to seven hours transfer them to a your bin you have set up already.
We use a red 100-watt bulb and lower the temperature by 3 degrees every week. If you find the babies huddling together, it means you need to increase the temperature.
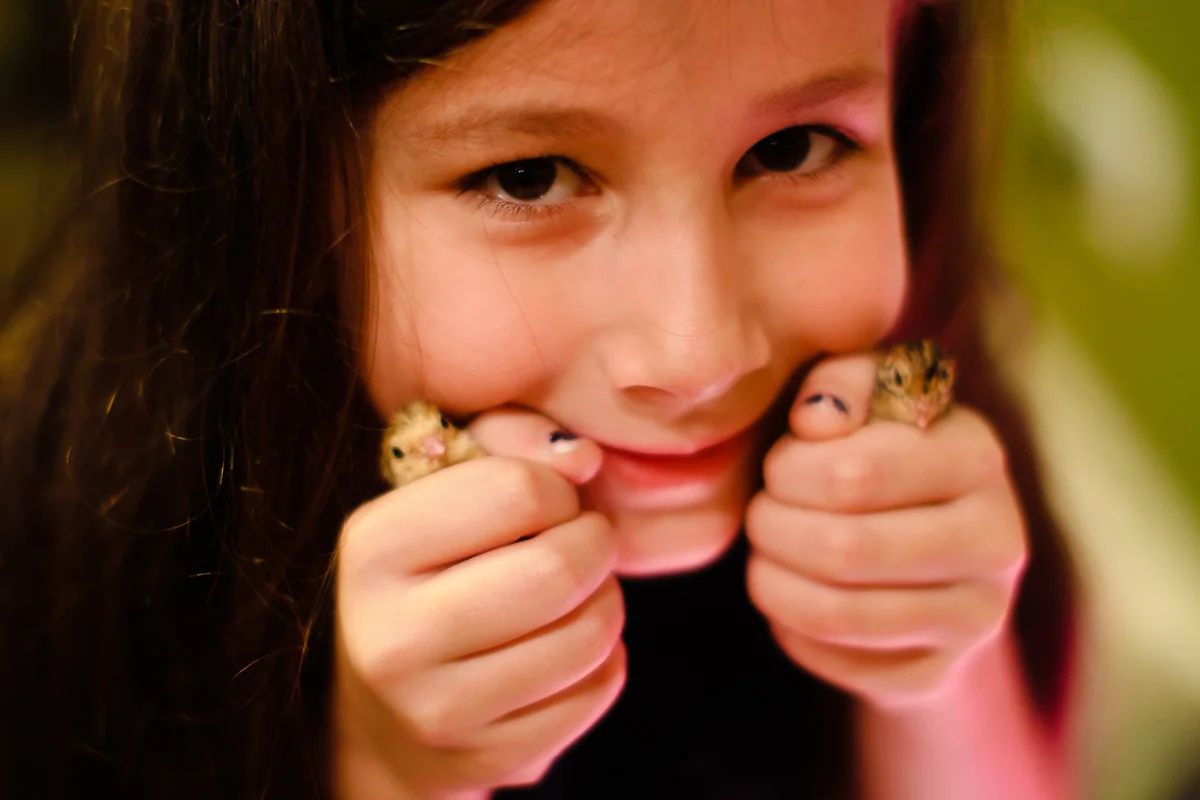
This morning I took half the quails to school and they will travel until the end of the semester to families for one week so all the children can enjoy them. We kept six quails and will take these back to the farmer next week.
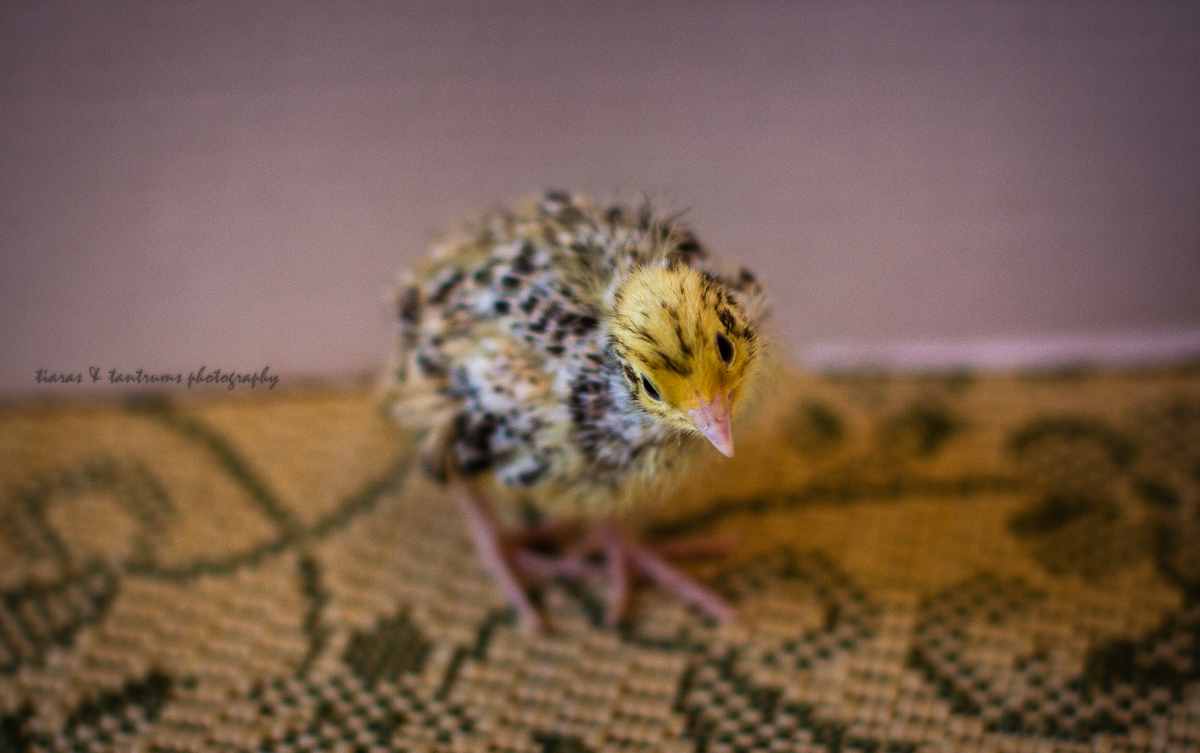
We have 12 healthy quails and they are so beautiful! Beautiful eggs produces beautiful quails! My children are so smitten and don't want to give them up.


